Ubuntu Server 22.04を用いたNAS(Samba)サーバを簡易構築する手順
Ubuntu Server 22.04をインストール
Ubuntu 公式ページのダウンロードページより、Ubuntu Server 22.04 (ubuntu-22.04-live-server-amd64.iso)をダウンロードしてインストールに用いる。
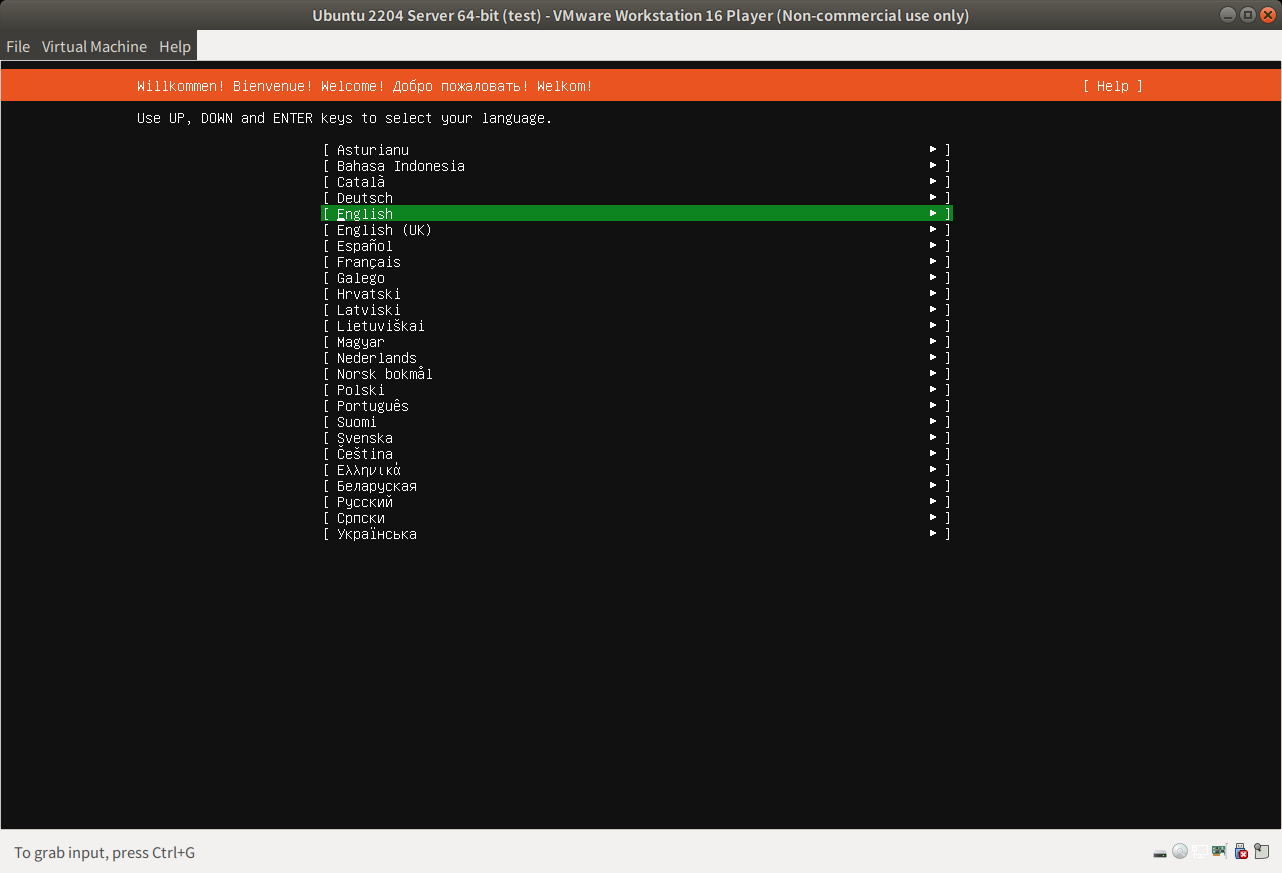
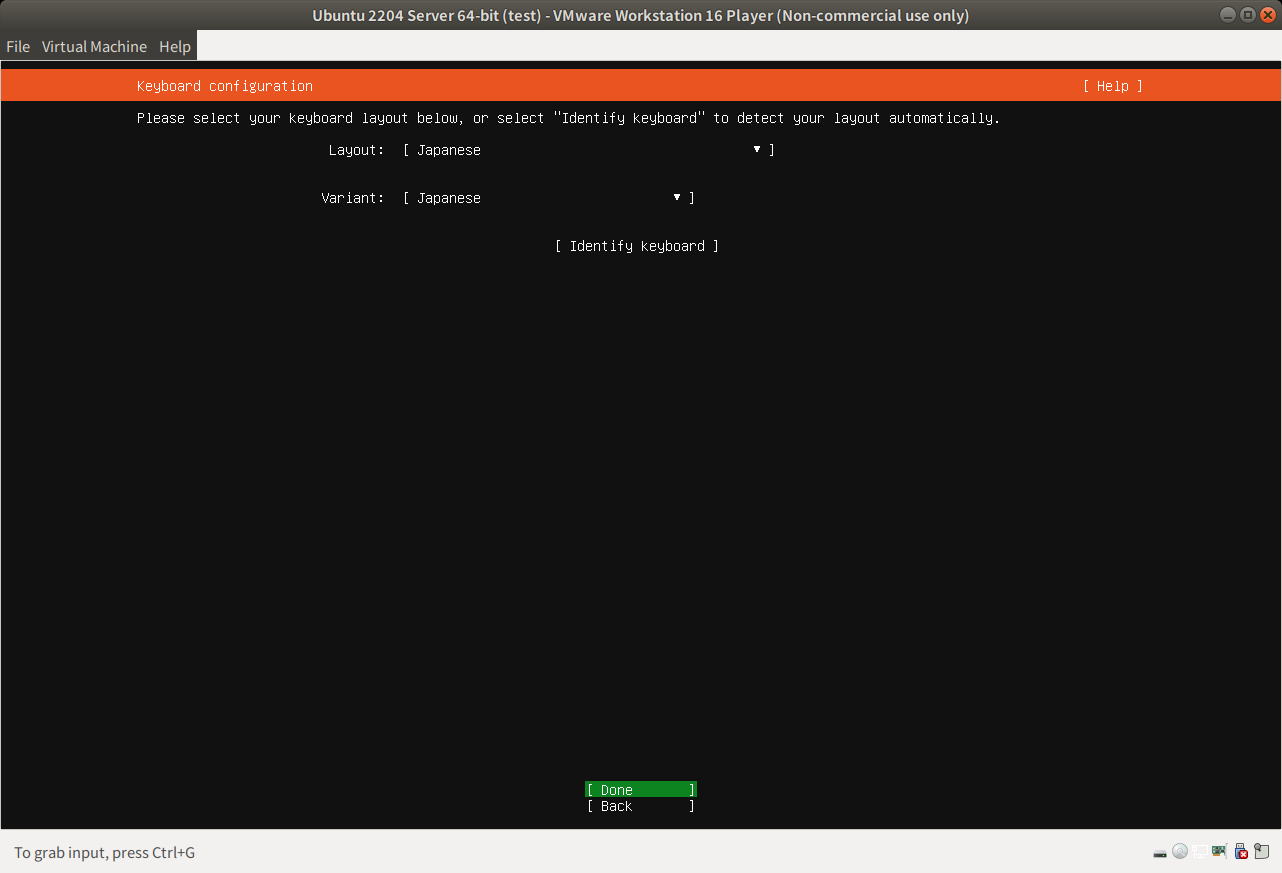
インストール開始画面 (言語の選択では English を選択する)
サーバの言語で日本語(Japanese)は選択肢の中にないため、英語(English)を選ぶ
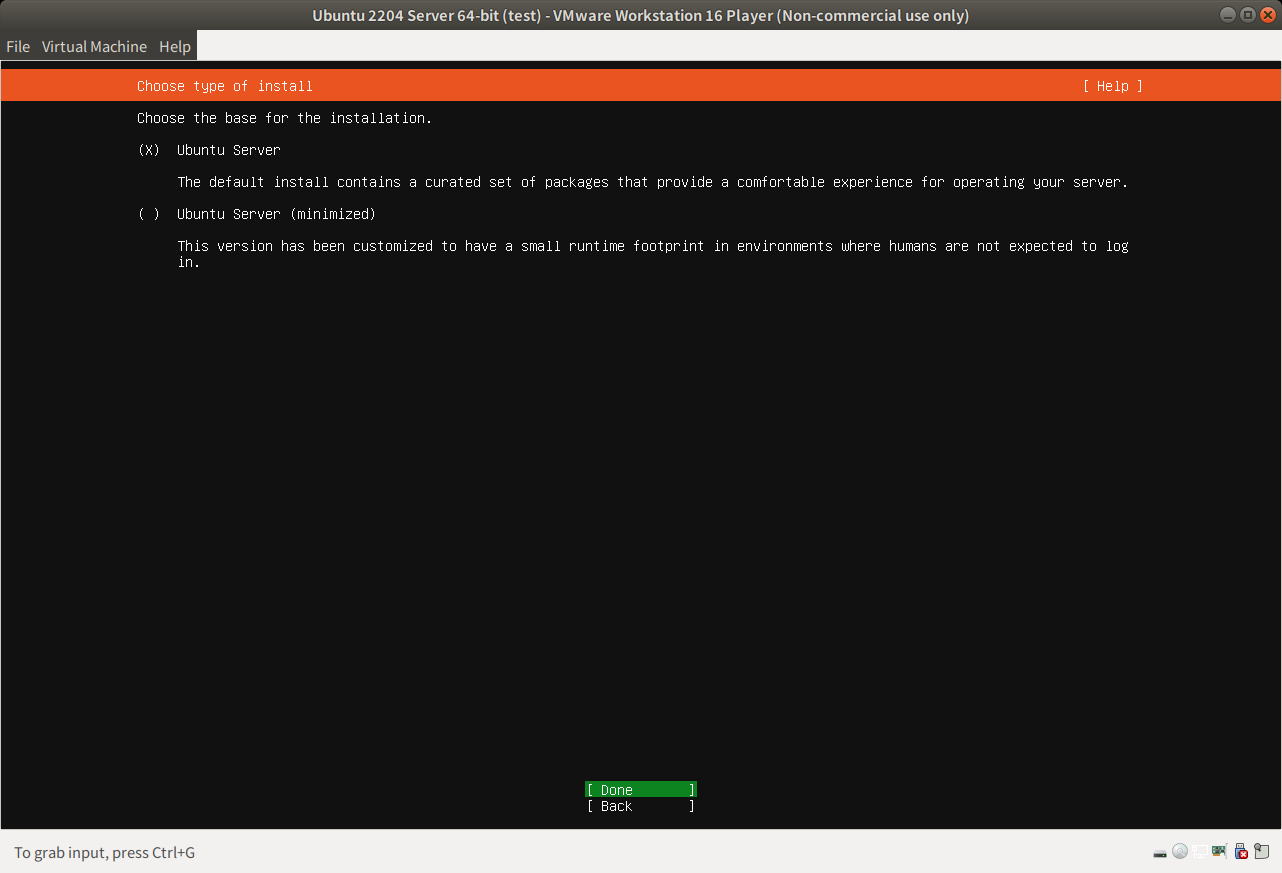
サーバの種類はデフォルト選択の標準のまま(minimizedを選択しない)
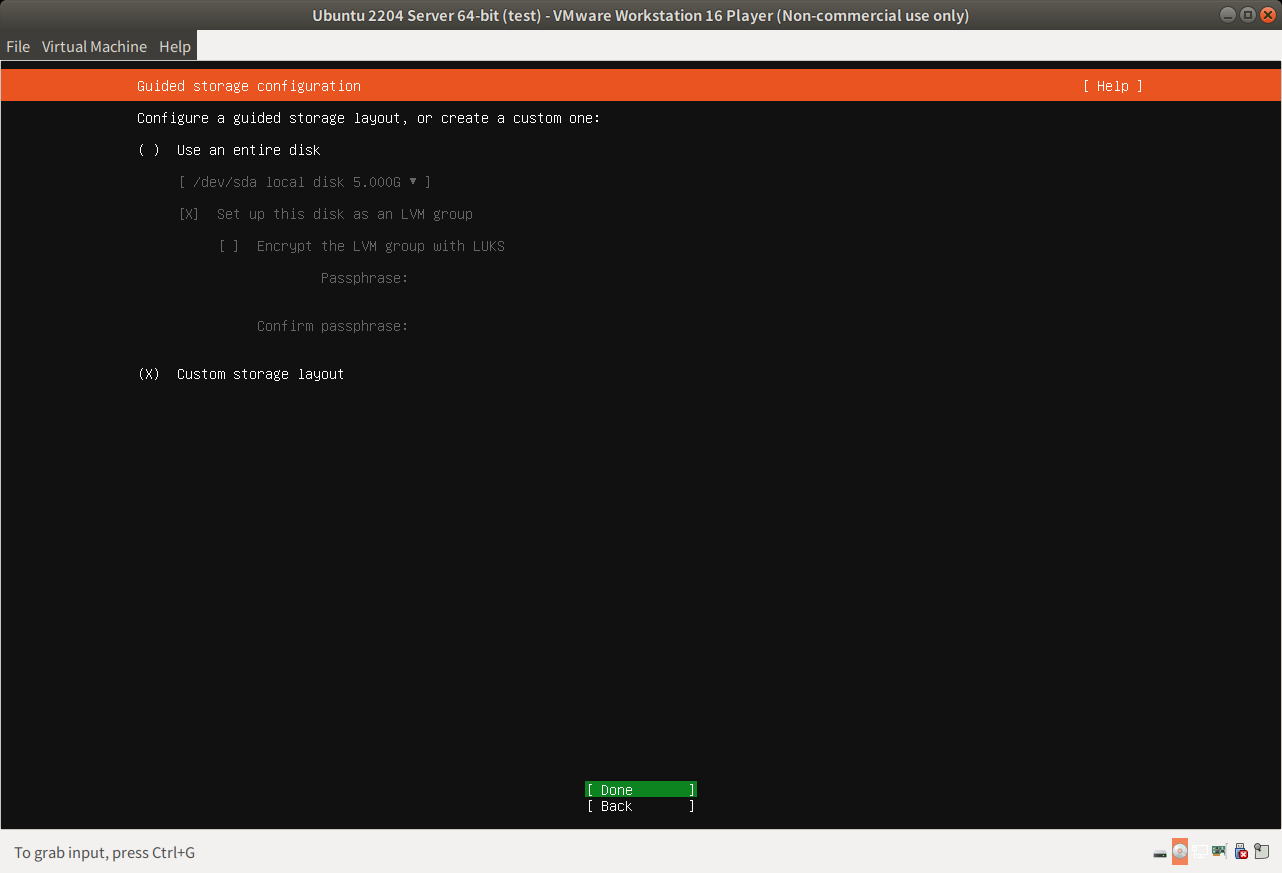
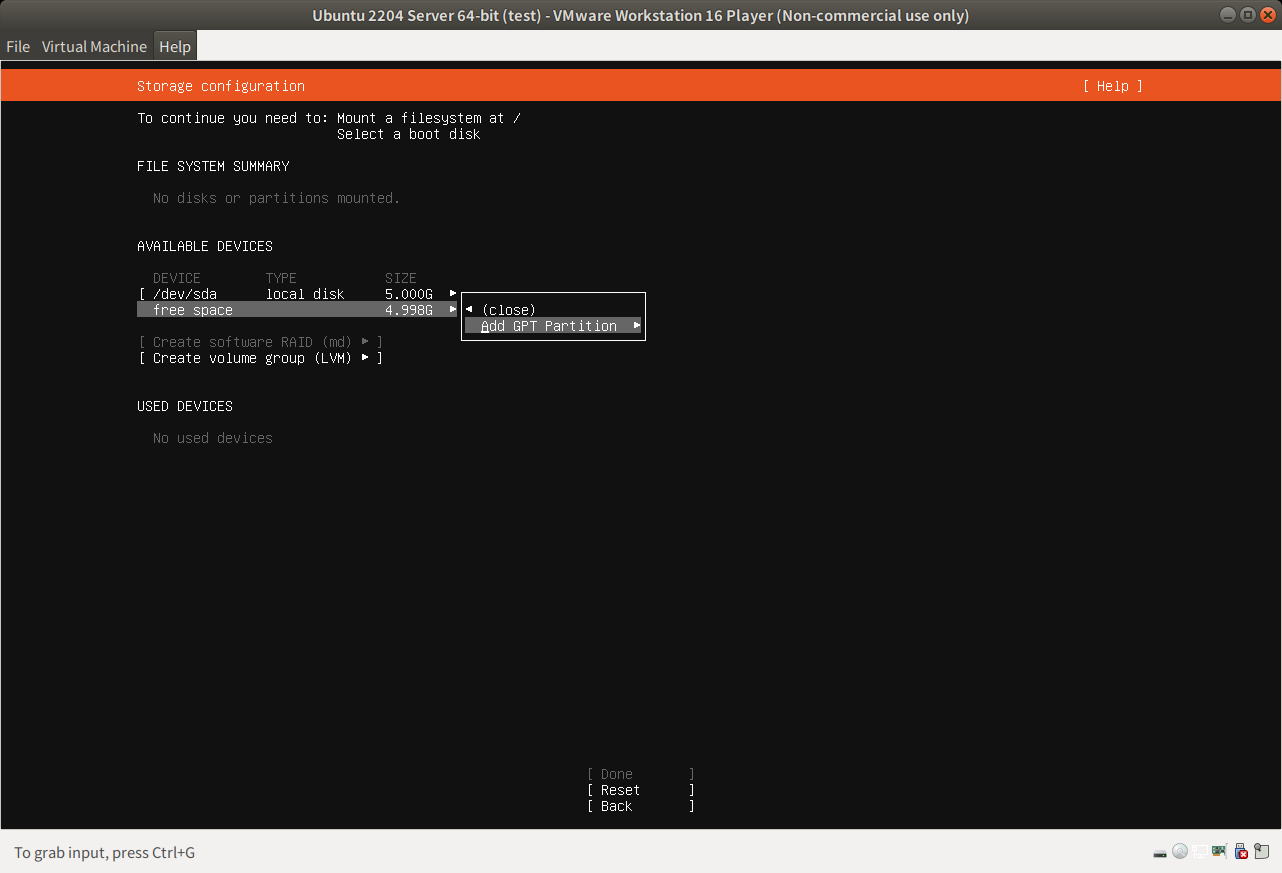
インストールするパーティションの作成・選択(Custom Storage Layoutを選択)
細かくパーティションを調整しながら区切っていく場合や、既存のパーティションがあるディスクの場合は、必ずCustom Storage Layoutを選択する
今回の例では、まっさらのディスク(VMWareで作成している新規のディスク)に、パーティションを作成していく
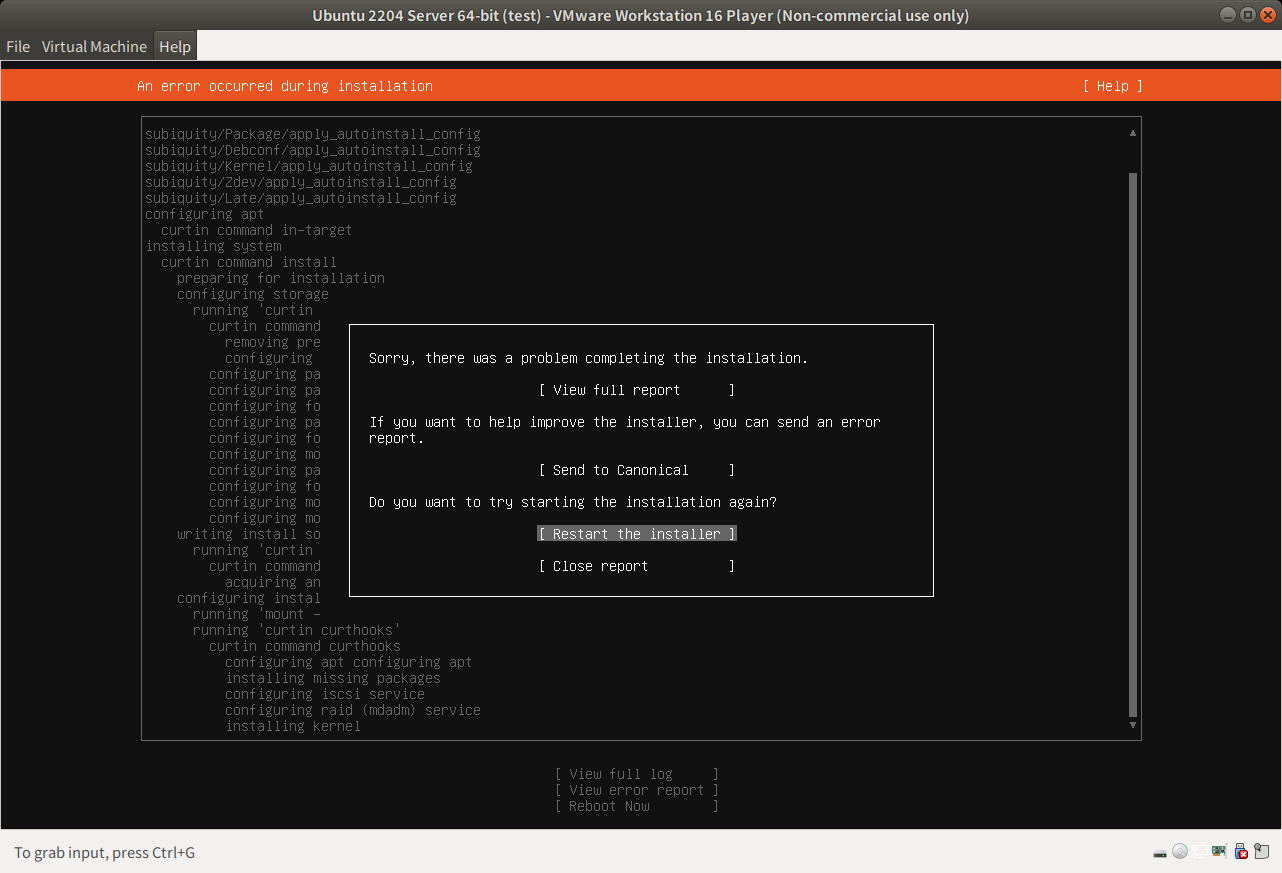
必要量以下のパーティションサイズを割り当てた場合
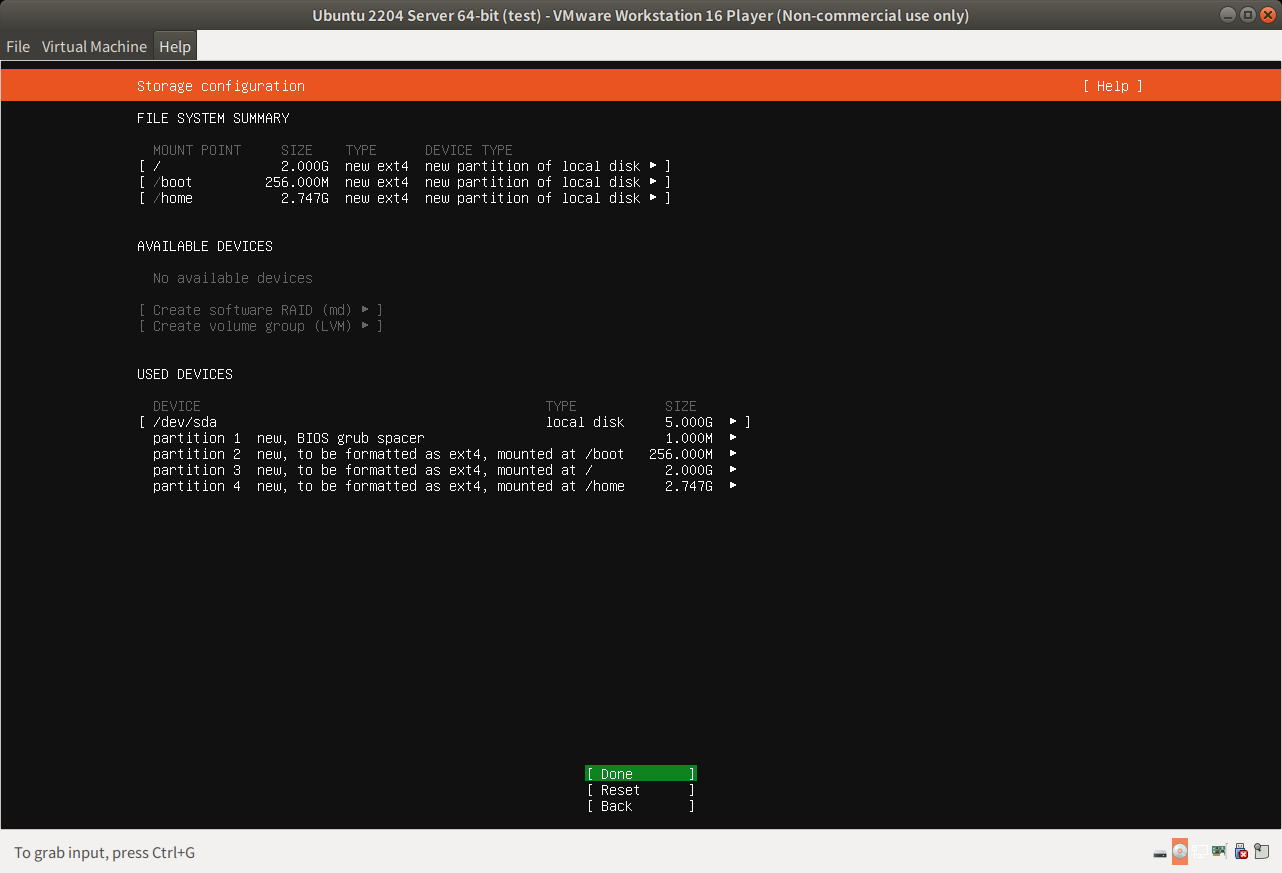
必要量以下のパーティションサイズを割り当てた場合はどうなるのか...
今回は、テストケースとして
・/boot : 0.25 GB
・/ : 2.0 GB ← サイズが足りない
・/home : 2.75 GB
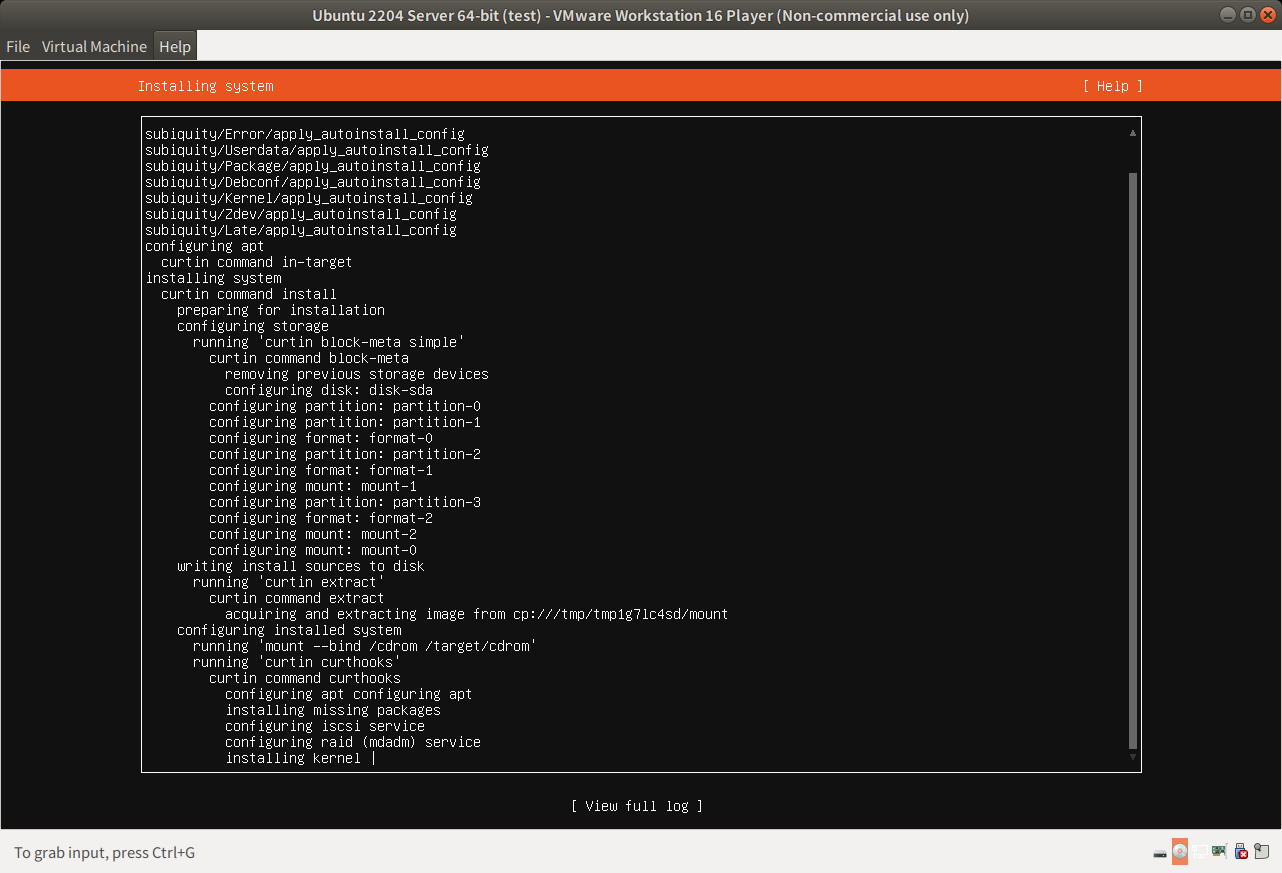
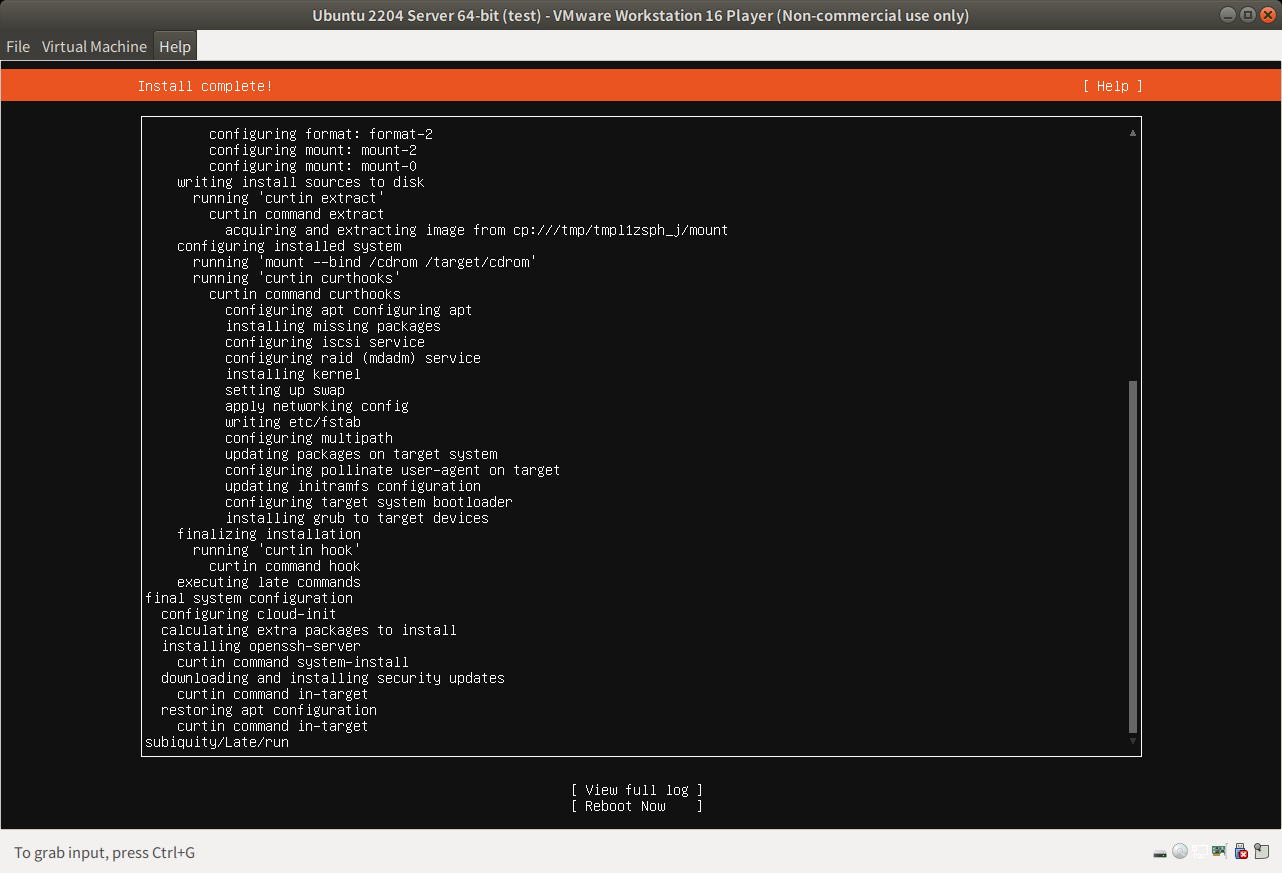
インストール中(installing kernel で数分間の時間がかかった後に)
画面にエラー原因が表示されない。なんとも不親切
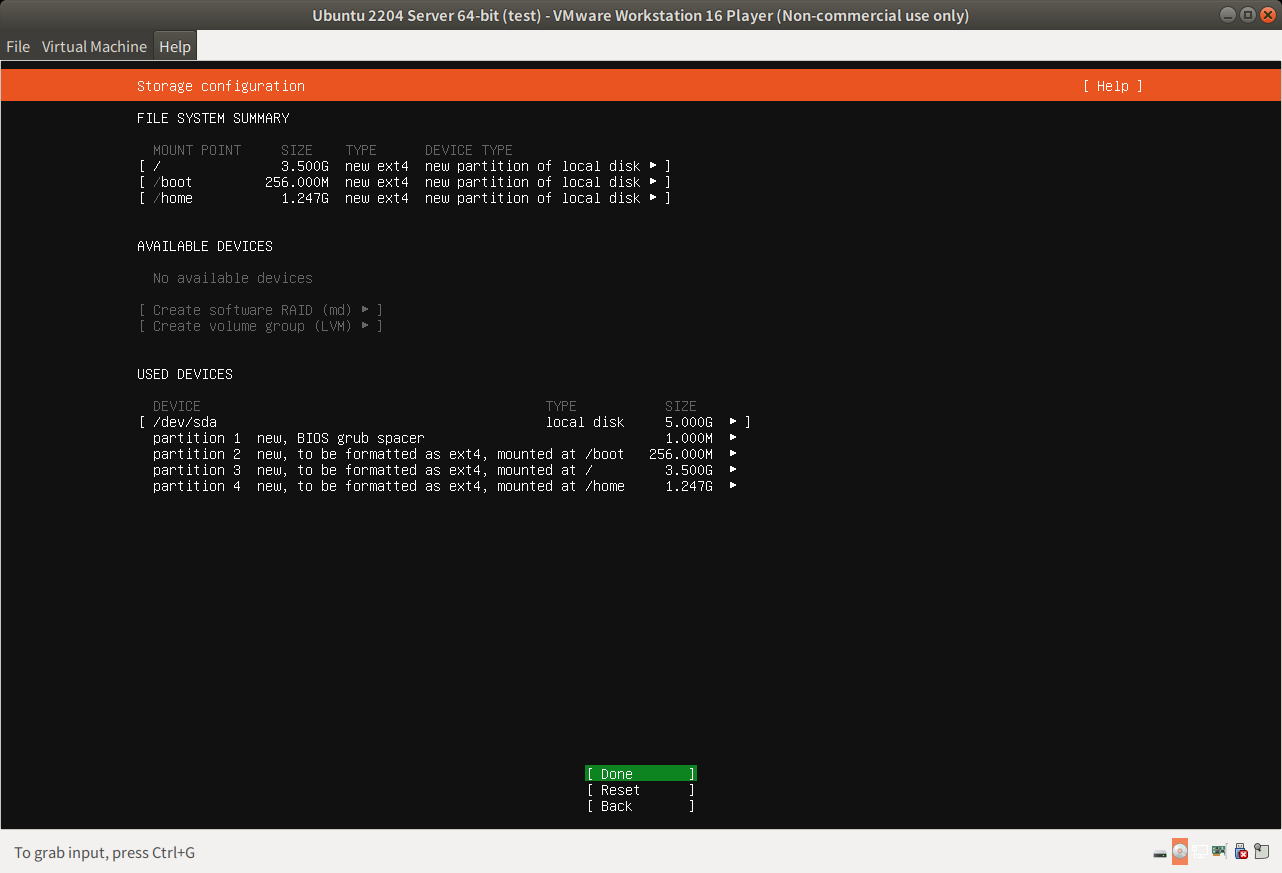
必要十分なパーティションサイズを割り当てた場合
今回は、テストケースとして
・/boot : 0.25 GB
・/ : 3.5 GB ← 必要十分なサイズと思われる
・/home : 1.25 GB
サーバが正常に起動した
インストール終了後再起動する
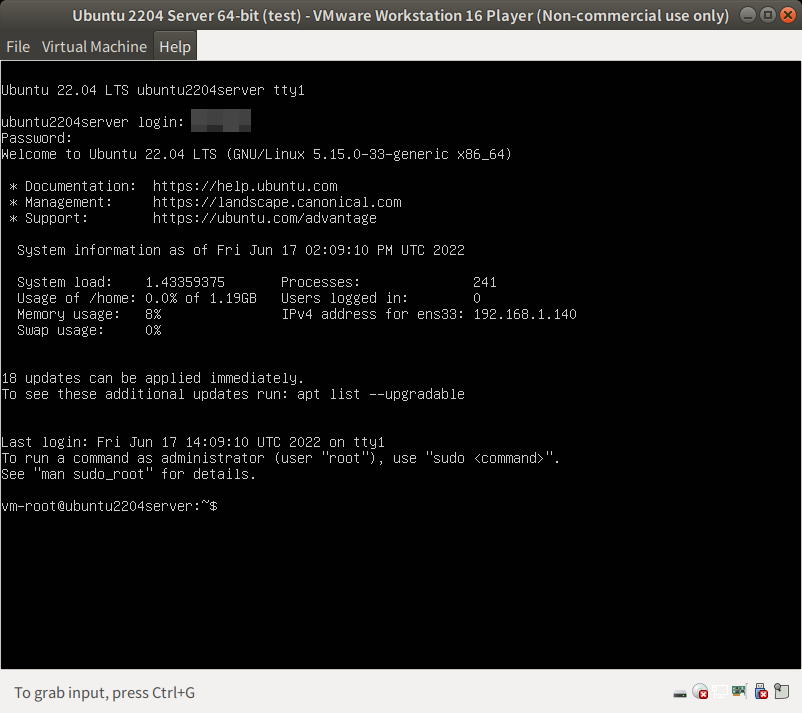
Ubuntuサーバの起動画面(ユーザがログインしている画面)
インストール直後の、ディスク利用サイズ
/dev/sda3に割り付けられた/ (ルート)ディレクトリの使用済みサイズは2.7 GBだった。また、/dev/sda2に割り付けられた/bootパーティションは使用済みが0.18 GB / 0.23 GB 。
$ ssh vm-root@192.168.1.140 The authenticity of host '192.168.1.140 (192.168.1.140)' can't be established. ECDSA key fingerprint is SHA256:i9OyCcCF1CEgK0iv+vkH4aaK22SIytVl9Tz+PLE/h08. Are you sure you want to continue connecting (yes/no)? yes Warning: Permanently added '192.168.1.140' (ECDSA) to the list of known hosts. vm-root@192.168.1.140's password: Welcome to Ubuntu 22.04 LTS (GNU/Linux 5.15.0-33-generic x86_64) * Documentation: https://help.ubuntu.com * Management: https://landscape.canonical.com * Support: https://ubuntu.com/advantage System information as of Sat Jun 18 04:22:25 AM UTC 2022 System load: 0.5166015625 Processes: 248 Usage of /home: 0.0% of 1.19GB Users logged in: 0 Memory usage: 9% IPv4 address for ens33: 192.168.1.140 Swap usage: 0% 18 updates can be applied immediately. To see these additional updates run: apt list --upgradable Last login: Sat Jun 18 04:22:26 2022 To run a command as administrator (user "root"), use "sudo". See "man sudo_root" for details. $ df Filesystem 1K-blocks Used Available Use% Mounted on tmpfs 398444 1560 396884 1% /run /dev/sda3 3532544 2817496 515164 85% / tmpfs 1992208 0 1992208 0% /dev/shm tmpfs 5120 0 5120 0% /run/lock /dev/sda2 229096 127676 83076 61% /boot /dev/sda4 1250496 52 1168680 1% /home tmpfs 398440 4 398436 1% /run/user/1000
Sambaのインストール
$ sudo apt install samba
smb.conf の設定
公式マニュアル(日本語版)より、必要な設定を加えていく。
testparamより出力された、デフォルト値から変更されているものを次に掲載する
/etc/samba/smb.conf
[global]
	log file = /var/log/samba/log.%m
	logging = file
	map to guest = Bad User
	max log size = 1000
	obey pam restrictions = Yes
	pam password change = Yes
	panic action = /usr/share/samba/panic-action %d
	passwd chat = *Enter\snew\s*\spassword:* %n\n *Retype\snew\s*\spassword:* %n\n *password\supdated\ssuccessfully* .
	passwd program = /usr/bin/passwd %u
	server role = standalone server
	server string = %h Samba %R
	unix password sync = Yes
	usershare allow guests = Yes
	idmap config * : backend = tdb

[share_public]
	comment = public share folder
	guest ok = Yes
	path = /home/smbshare_pub
	read only = No

[share_auth]
	comment = share folder (user auth require)
	path = /home/smbshare
	read only = No
設定ファイルの構文が正しいか確認する
$ sudo testparm
または
$ sudo testparm /etc/samba/smb.conf
設定ファイルの変更後、sambaサービスを再起動する
$ sudo service smbd restart
Sambaサーバが正常に稼働しているか調査する
サーバ側で自身をチェックする場合
$ sudo smbstatus
クライアント側からサーバをチェックする場合。プロトコルは NT1, SMB2, SMB2_02, SMB3 などを指定する
$ smbclient -L 192.168.1.xxx
$ smbclient -L 192.168.1.xxx --option='client min protocol=NT1'
ユーザ認証ありの共有ディレクトリを作成する
Linuxのユーザを追加する
$ sudo adduser smb_vm
$ id smb_vm
uid=1002(smb_vm) gid=1002(smb_vm) groups=1002(smb_vm)
セキュリティ確保のため、このユーザはログイン不可に設定する
$ sudo usermod -s /usr/sbin/nologin smb_vm
Sambaのユーザを追加する
$ sudo pdbedit -a -u smb_vm
$ sudo pdbedit -L
smb_vm:1002:
SMBバージョンの指定
SMB v1のみをサポートする場合(かなり昔のPCを想定)
/etc/samba/smb.conf
[global]
client max protocol = NT1
server min protocol = NT1
設定できるSambaプロトコルのバージョンは
| NT1 | Windows NT, CIFS |
| SMB2 | |
| SMB2_02 | |
| SMB2_10 | Windows 7 |
| SMB3 | |
| SMB3_00 | Windows 8 |
| SMB3_02 | Windows 8.1 |
| SMB3_11 | Windows 10 |
